Tuesday 28 February 2017

Eclectic Ellapu's newest Challenge: Spring or Easter

Well, Spring is a long way away for me but as I am not ready for Easter yet either and I had gotten a wonderfully suitable kit from D'Lish a few weeks ago that I decided to go for Spring!


If you want to play with Eclectic Ellapu you can go HERE

The Design Team have some beautiful things to show

I used quite a bit of the kit but I still have some delicious stuff left in my stash that I cannot wait to use on something else - best thing about a kit.


I know I can stamp for this Challenge but I chose not to anyway as I had a new die with the four seasons featured. Do you like the jewelled dragonfly? So pretty - it was not part of the kit but in my stash and I had to use it here.


The kit had a bicycle with a basket and lots of flowers - I put pink card behind the basket to hide the flower stems and added the bow (which came from another previous kit).


The background paper is from a magazine 'freebie' and the mount is SU Soft Sky.
I freehand cut a heart in pink for the seat as well but then decided to add the extra flower for balance


Is that Spring enough? 

I will enter this is the following:
D'Lish Scraps - Fresh cut board

Monday 27 February 2017

Final Week for the Anything Goes Challenge at Unstampabelles

You have five days left to get an entry in to this challenge. Many people have gone before you and they all comment on how much they enjoyed the experience of going cold turkey - ie without stamping! It really can test the ingenuity. In fact I am finding sometimes I have to make myself look for a stamp rather than something else when I am making something for another challenge or at least not for Unstampabelles. 


I found myself making another box for this challenge. It is because I saw this on Pinterest and thought how cute it was and so I had to make one. The one I saw also contained manicure and pedicure items and that was what attracted me I think. It was very easy and the finished product was filled with some manicure/pedicure things - more than is shown here as I added some later - and given as a gift to a friend.


The lid hinges up and then closes by slipping down with the side flaps inside and this holds it shut.
This was the prototype for me so it is not as neat as I would like but it wasn't too bad. Learning where to put the glue is the main bit. I used my SU scoring board to score all the lines at once. 


The 'sentiment' on the front is a wooden one I got from D-lish - I get a kit a month from them and if you don't use it up straight away they do build up but they are usually soooooo cute.......and of course I always need new stash (uhum)........and pieces often come in useful like this one! Enough excuses - I mixed two diferent embossing powders together to get this pinkish red and wet embossed the wood diecut. I also added some glitter to the mix but I should also have remembered to use a clear EP over the top as the glitter does not always get caught and comes off a bit.


I like the reference to beauty and to the personal in the pun as I was going to fill it with beauty products. The strip of glittery card and a strip or two of washi tape on top allowed me to decorate without too much bulk. You could do what ever you wanted of course and go to town, but I went for a simpler look. A ribbon bow on the diecut and that was it. 


So another box for Unstampabelles this month 

Let's see what you came up with.

I will leave you with this photo taken by a friend of mine (Hi Glenda) during the Wooden Boat Festival - no she (the boat) is not a wooden boat  - she is the Ovation of the Seas: a huge Cruising Boat - and she called in that weekend at Hobart. Here she is wedged between the iconic Art School in buildings built in the 1840's  (left side) as a factory and a newly created Hotel (as yet unnamed and incomplete) reconstituted out of another old wharf building shed Number 3 (right side). The building in front of her is also an old shipping shed (No 2) refurbished to allow easy access on and off the wharf for people off various cruise ships. This is a 10 minute walk from the city centre. 


Saturday 25 February 2017

Go Purple for Crafting with Dragonflies

The latest challenge at Crafting with Dragonflies is to use the color Purple in a card.


I saw this idea used in Die-Cutting Essentials magazine (pg 31) by Tara Capewell 
and so I had a go at it

I think my oval was a bit too small - should have used the next size up

I think I would also use a die cut with a featured edge next time too
- perhaps a stitched line?

Anyway, I liked the idea and it worked - I used my new Penny black stamp Fresh and Momento Black ink but I am not that happy with my ink pad. 

I think I need a new black ink to go to when I want a clear black line every time - the Momento is OK most of the time but I note that Tara used a Ranger Archival ink and it gives a strong outline.


I used a sentiment from SU Pursuit of Happiness set and my Copic pens to colour


I had a packet of 3 of these from Shiploads $2 shop and thought it was just the place to use it. 


Instead of using card behind as a mount, I ran my Copic pen around the outside of the white card blank and pretended I had mounted the image. 

Colouring in make me happy so the sentiment makes sense to me!

Anyway, you can go purple in your own way and you have a fortnight to enter it at 

Want to see a pretty photo?

Now, that's how nature does purple.......

Photo by TassieGrammer
Nature has it's own ways of making things seem small ⛈ This is the Bonnet Island Lighthouse in Macquarie Harbour on the west coast of Tasmania.


Friday 24 February 2017

Play Time at Time to Play

Last week I had a play with MegaFlakes and decided I needed to order myself some Flitter glue and all the stuff that goes with it to make it work as I could not get it to work properly at all using the glues I had.

This blog has a lot of photo's

I was looking at a piece of work by Tracy Evan in Craft Stamping where she had used TH paints and swiped paint onto card for a background using an old credit card. I wanted to have a go but decided to use my newly acquired Yupo paper - it is supposed to be used with alcohol inks.

I found it very strange to work with and the paints didn't dry and when I eventually wiped them off, they smeared; expensive as it is, I didn't want to waste it so I used it as a background anyway. I had die cut a Poppystamps Squibble Square from silver card and had left it sitting on top of the Yupo card for a night - I had been playing with an idea of using it on the background. When I returned the next time it had left an impression on the card (you can see it under Cupid) - cool!


Cupid was die cut from silver card as well and I wanted to use the MegoFlakes on him so smooched glue all over him and tried to press the flakes into the glue -messy, messy, messy......
When I cleaned up this is what I had achieved - very spotty.


I added the heart and gave up on that one.


When playing with the inks earlier I had stuff left over on the craft mat so swiped a second piece of Yupo through that before I found out that it doesn't work with TH Paints.


My grey- silver card left behind was again too good to throw away


In the meantime my Flitter Glue kit arrived and so I had another go with a big old background stamp from SU called Lace. I put the glue on the stamp and then laid it on the paper quickly and peeled it off before it stuck. Lots of flakes and mess again, and rubbed off with the special scrubber thingy and while there was no actual lace pattern there was a great background. I added the scribble die an a butterfly die plus some silver cord and some stickers.


The SU glitter card make a great butterfly background and I mounted the whole on a similar blue card and then onto a green card blank.


I was trying to pick up the colours in the background.


Here is my attempt next to the one by Tracy Evens - cannot say it was simple!


Can you see another pattern on the bottom right side of the card? 
This was floating on my desk since Christmas and I tried to replicate the experiment by placing it on the card overnight and I did get a negative image. Yupo is obviously photo paper of some kind.


Remember Chaos Theory and Butterfly Wings........
that's my card!

I will enter this in the following challenges:
Southern Girls - Nature!
A Bit More Time to Craft - Anything Goes
Outlaw's Twisted Thursday's Anything Goes


I was a winner her for my butterfly card!


Monday 20 February 2017

Valentine's Day card for Unstampabelles

We are having a funny Summer - first it is hot and then it is windy and then it is both hot and windy and then it is cold......and windy! My tomatoes were planted late I do admit but so far I have not picked any off them. I think I will get a big crop all at once once they start to ripen! This is just one (actually there are 6 + one chillie in this photo) of the 20 plants given me by a girlfriend as seedlings in November.  I will confess I didn't plant them until mid December but they were well looked after in a cardboard box until then! The other plants are also in pots just outside my craftroom window in a protected sheltered spot from the wind. They are as big as these.This photo was taken last week - they are bigger again now!


Enough bragging......

I am loving my new stuff from Stampin' Up and that includes another die set called So Detailed. I used the belly-band from this set with some lovely new sparkly card from SU and a variation of the inset technique again combined with a text die from IO.


Called So Detailed Thinlit Dies above

The IO die below


The sparkly card  comes in a small pack of various colours and cuts really well in my big shot.

In this technique, I used the belly-band to die cut through a piece of thick white card
I  will use the white die cut later on something else. 
For now, I again die cut the belly-band into some mirror silver card and used this to inset into the space where the other white die cut had been. 

This means just the top and bottom of the inserted die are touching and I had to use the glue carefully to make it stay there. Behind it I add a strip of sparkle and then layered this whole onto another white card blank.


I used the heart die cut from the IO sentiment as another embellishment along with some pink sequins


The centre of the belly-band is a delicious teardrop and I die cut out this image from a new one I had got from Dark Room Door and layered it over that teardrop with a dimentional.


Quite pleased with the effect - I like the pink and silver combo

I know it is Valentines Day but this would be a great engagement card or even wedding card or (Silver) Wedding Anniversary. 

Now go to Unstampabelles and see the other amazing stuff the DT have put together and then have a go at the challenge yourself!


Monday 13 February 2017

Valentines Day Gift Box for challenge#65:Anything Goes at Unstampabelles

I don't normally do Valentines Day but this little box is just so darn cute!
It is for Challenge #65: Anything Goes at Unstampabelles

Before I show you the box I have news:

Yesterday Hubby and I went to the bi-annual Australian Wooden Boat Show

Here are a couple of snaps from my phone taken on the day.....


Nothing like a piano in a dingy........


That is only part of it - it was spread out over a vast area of the docks. 
Despite the threatening clouds it was a great day - warm, slightly windy and there were crowds of people everywhere.

Got home exhausted and discovered my Uni results were in!
That made me very happy!

I got an HD for A Photo Essay (12.5 pts) - final result
and I got another HD for my Third Project - Collage - in the Creativity and Aging course
Still have an essay to be marked from this one but its looking good for at least a pass and I have had an HD for everything else so far in this course. It is another 12.5 pts one.

To say I am chuffed is understating it - I have not done any study for over 10 years and I am so please to be able to gain these results in my 'advanced years'!!  Also it is involving my creativity and creative pieces and to get such good marks for that is very affirming. With all that was going on at the same time as trying to get this work done for Uni, I nearly chucked it in. So glad I didn't and persevered. 

Now, on with the box!

The SU die is here

I can get if for you if you wish - just contact me

Window Box Thinlits Dies sizes shared by Dawn Olchefske:

You die cut two of the big shape
I used Real Red in SU card...
and the hearts pattern for the sides (the middle one)


You have to remember to turn it upside down for the second box, so the hearts are facing the correct way - same with the candles......

Once it is cut out you burnish all the fold lines and tabs.

I found a good tutorial on YouTube to help me put it together


For my lid, I cut two hexagon shapes slightly smaller than the others
I die cut the very top white one with the Marianne die
and another of this die in black and replace the white cut out with the black one


I added a red heart
Under my white card is some pink sparkly card
(hard to see)


The lid fits so well and it just looks so cute. 


I put a small candle (not real) inside to show the pattern clearly when the candle was turned on and shed light

You don't  have to make a box for this challenge - you can create anything with paper as long as it does not have a stamp in it - rubber, plastic, wooden or digital

If you want to enter our challenge at Unstampabelles
you have until the end of the month to do so.

Saturday 11 February 2017

For the Girl(s)!

Well, we are up and running well - there were lots of entries for our first challenge at Crafting with Dragonflies and all beautiful. Le's see how this new one goes then......

For the Girls

Our eldest Granddaughter turned 24 yesterday
How's that for making you feel ancient!!!

She is a gorgeous girl


This was taken a coupla years ago........

The inside of her card tells her she is gorgeous.....

I used a new stamp set from Stampin' Up Occasions that I really love at the moment 
and went very CAS


Love this image - so free spirited......


Some Momento ink for the stamps and some SU Bermuda Bay ink wash...


A bit of colour around the edges and three lovely dots

No-traditional colours but she is not traditional..... 
although she looks gorgeous in pink....

So, what will your "for the girls" card look like?

Enter it here at Crafting with Dragonflies 
You have two weeks.

Want some more eye-candy?


Wild cherries at Pelverata, near Pelverata Falls
photo: courtesy of Greg Faull


Monday 6 February 2017

First post for Unstampabelles for 2017: Anything Goes

Hello all - hope your day is going well. Mine is looking up - I have just lodged my last essay with the Uni for my summer school and I hope I pass. I think I will do that but probably only just! Long time since I have written an essay for university! Now I can concentrate on home and craft for a while!

First, a Tassie photo

A stunning, perfect-timing shot of some true Tassie Wilderness. A yellow-tailed black cockatoo dances on the wind, flanked by a proud pandani tree and the vibrant splash of red of the native Richea scoparia. The Tasmanian wilderness is the only place in the world you'll find these two beautiful but ferociously prickly plants. At this time of year, many Tassie's natives have just finished their spectacular displays of colour. Fortunately, you don't have to travel far to one our nineteen national parks to experience the Tassie wilderness in all its glory.

Image: instagram.com/lukereavley
#discovertasmania #seeaustralia


The first challenge for Unstampabelles for 2017 is

Anything Goes!
The twist for this challenge is to use something new!

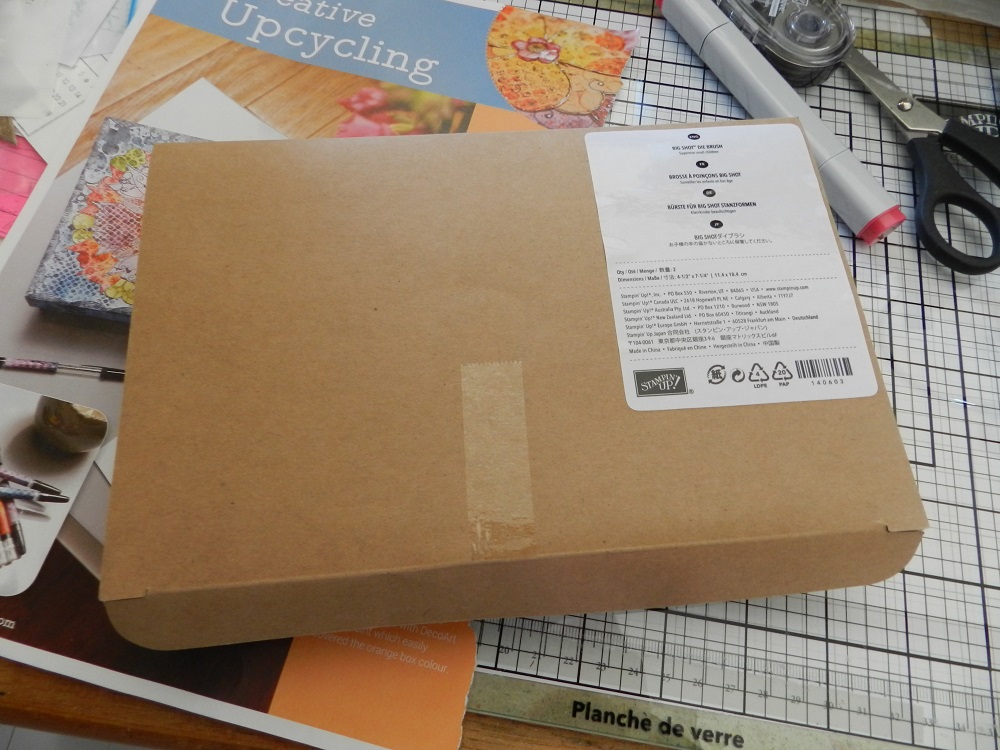
So I  have repurposed a small box  - the purpose of it will be to place some cards and envelopes and a few pens into it to create a gift. Really the box is just to show-off the decorations and my new bits are the stencils that I used in the new technique I employed. It is this technique that I really hope to showcase - in the making of the decoration.

I saw this technique in Craft Stamper (pg 36/37) used by Georgina Ford. 
She used different stencils to mine and Infusions while I used Colour Bursts

The outcome was pretty much the same. 

Lay the three new Memory Box stencils onto a sheet of card large enough 
for six stencils and tape into position as shown.
Sprinkle with the Colour Burst powders - I used only three - and spritze with water.


Flip the stencils over onto the bottom section of the card.
I used my brayer to effect here.
Georgina used paper towel to press the stencils down. 
I used that too but after the brayer.


Once dry she stamped her pieces randomly - I used other stencils to create a
 distressed look with TH Distress inks. 
I used dies and punches to cut out firstly hearts and then other shapes and a distress ink to outline them. Georgina used  a fine pen to outline shapes in her project. 


I used these to create an embellishment for the top of my box. 


The box itself was one that a tool came in from Stampin' Up. 
It is made of quite a flimsy cardboard. 


I used a piece of card in the base to strengthen it. 


I just used double-sided tape to attach


I decorated the top and sides with some old DP from SU


I made a button catch with velcro


Inside I added another piece of card with a divider to allow for pens to be used, and leaving enough space for up to 10 cards with envelopes. 


The flower centre was in my stash (unnamed) and the lace ribbon too.
Various Sizzix dies and others were used for the foliage.


I still have four sheets to use in the cards I make for this to tie it all together. 

No stamps were used to make this. 
My twist - the new stencils!

I did enjoy making this embellishment for